The build: from concept to kit
MAK Synth went through four hardware prototypes. Each one reworked the electronics, the layout, the enclosure, or the way it is used. These are the main stages along the way.
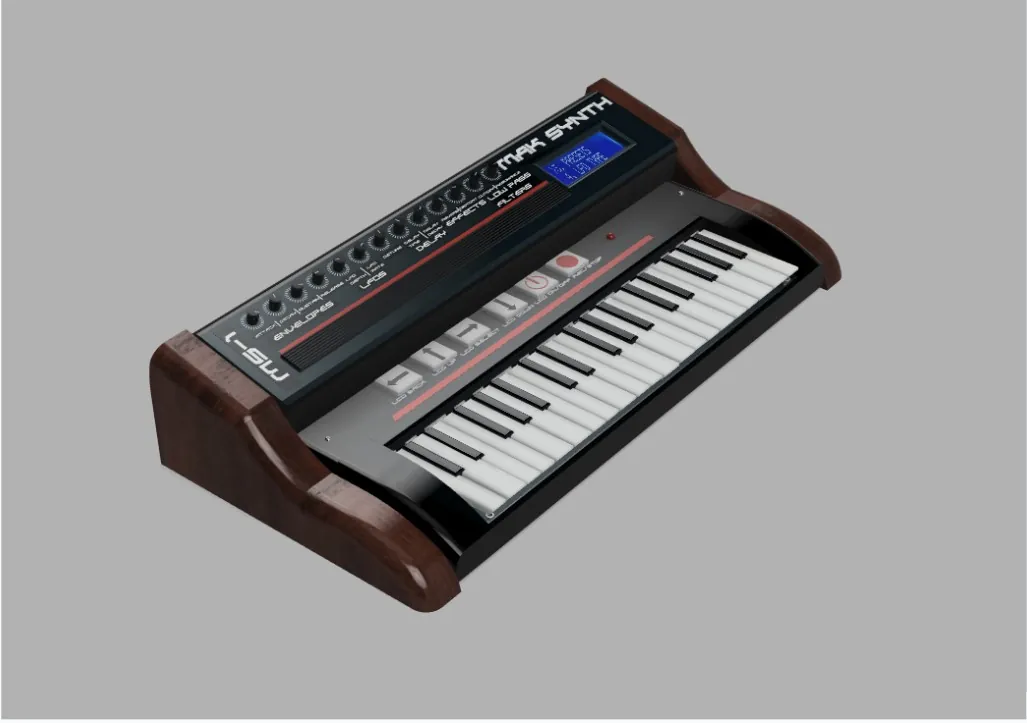
Early concept renders
An early concept explored a larger layout with a full keyboard, a screen, and dedicated sections for envelopes, effects, and filters. Renders like this set the direction before any hardware existed.
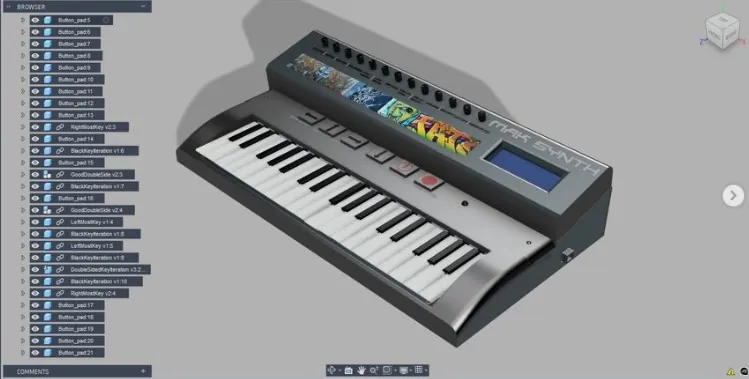
CAD modeling
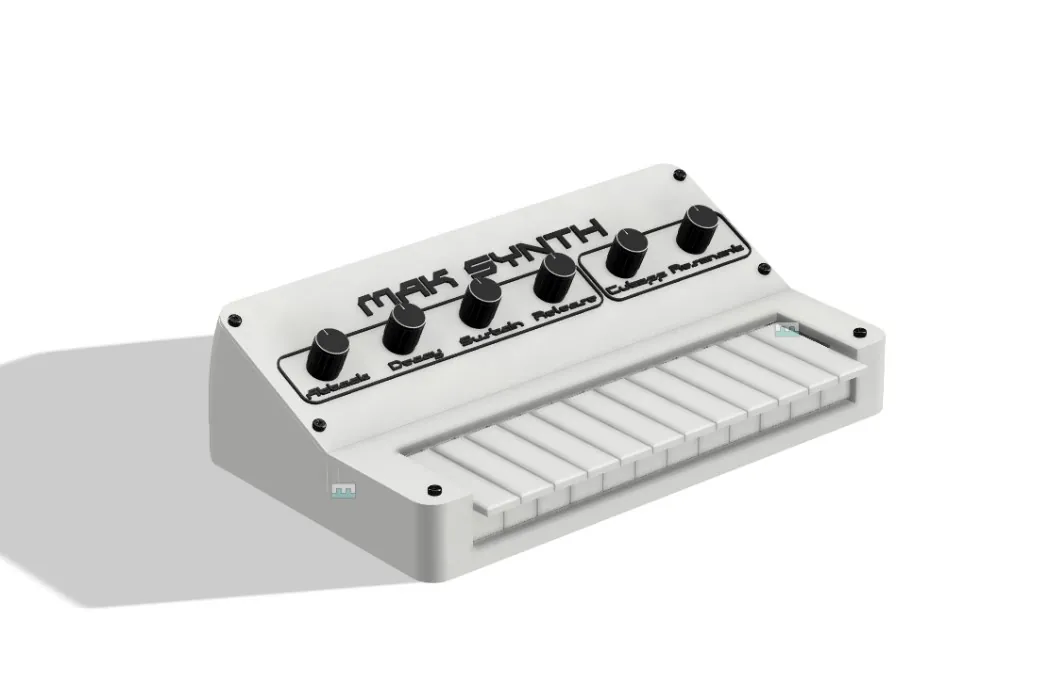
The enclosure, control layout, and on-screen interface were modeled in CAD. Working in 3D made it possible to place every knob, key, and label, and to check the design before anything was printed.
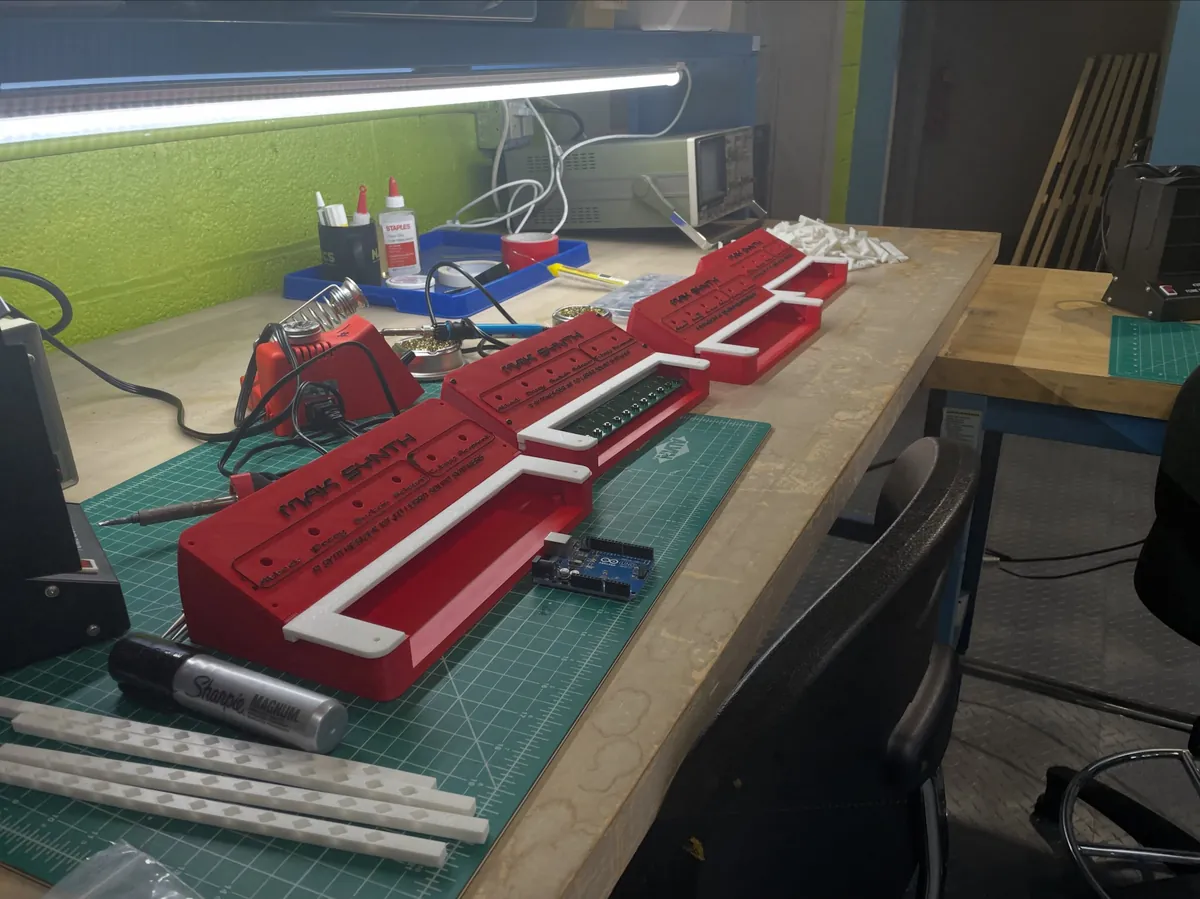
Prototyping and assembly
3D-printed enclosures and the control board came together on the bench. Printing the parts made it quick to test component placement, assembly, and fit, and to revise the design between versions.
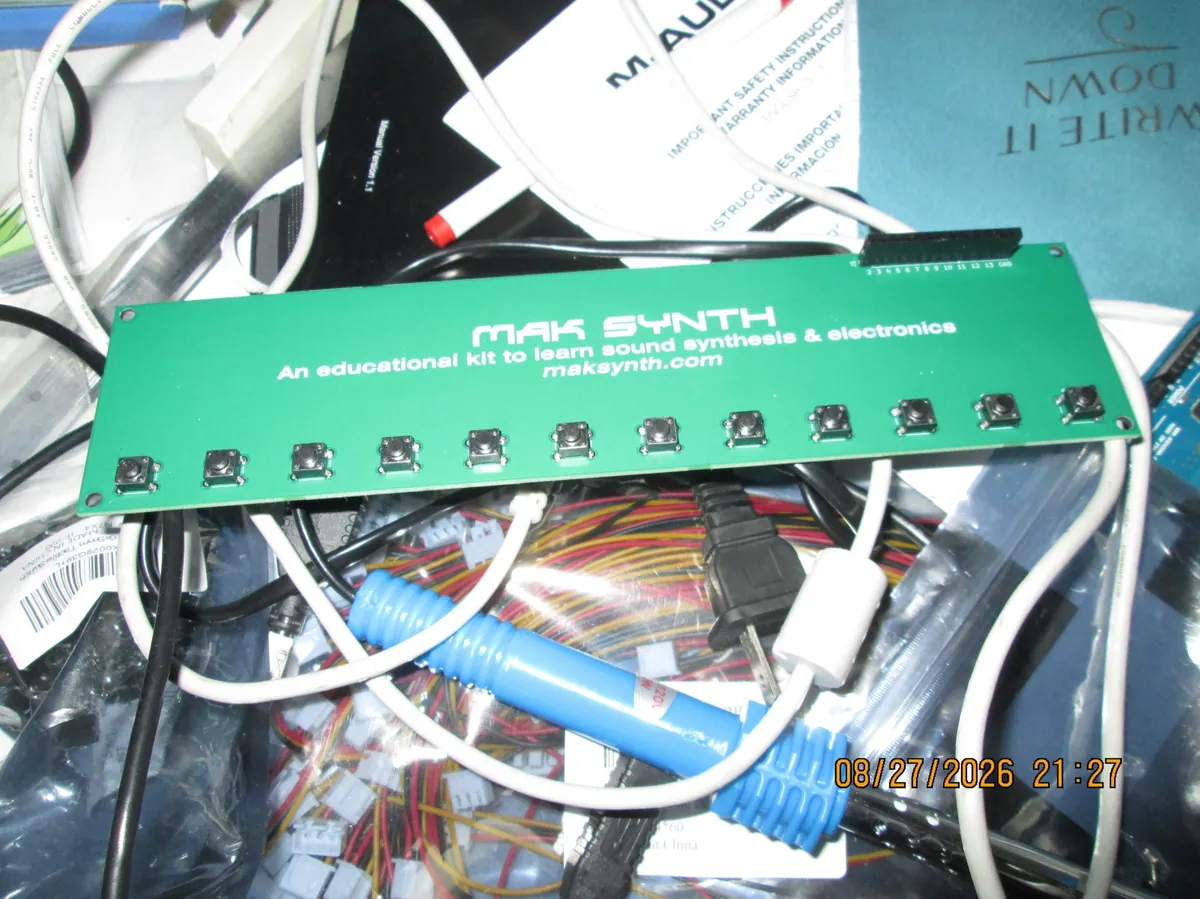
The circuit board
A custom printed circuit board carries the buttons and the header that connects to the Arduino. This is the step that turns a breadboard prototype into something that can be built as a kit.
The finished kit
The current MAK Synth: a compact controller with twelve keys and six knobs, running the SuperCollider sound engine with live visualizers. Read more about the goals behind it on the about page.